


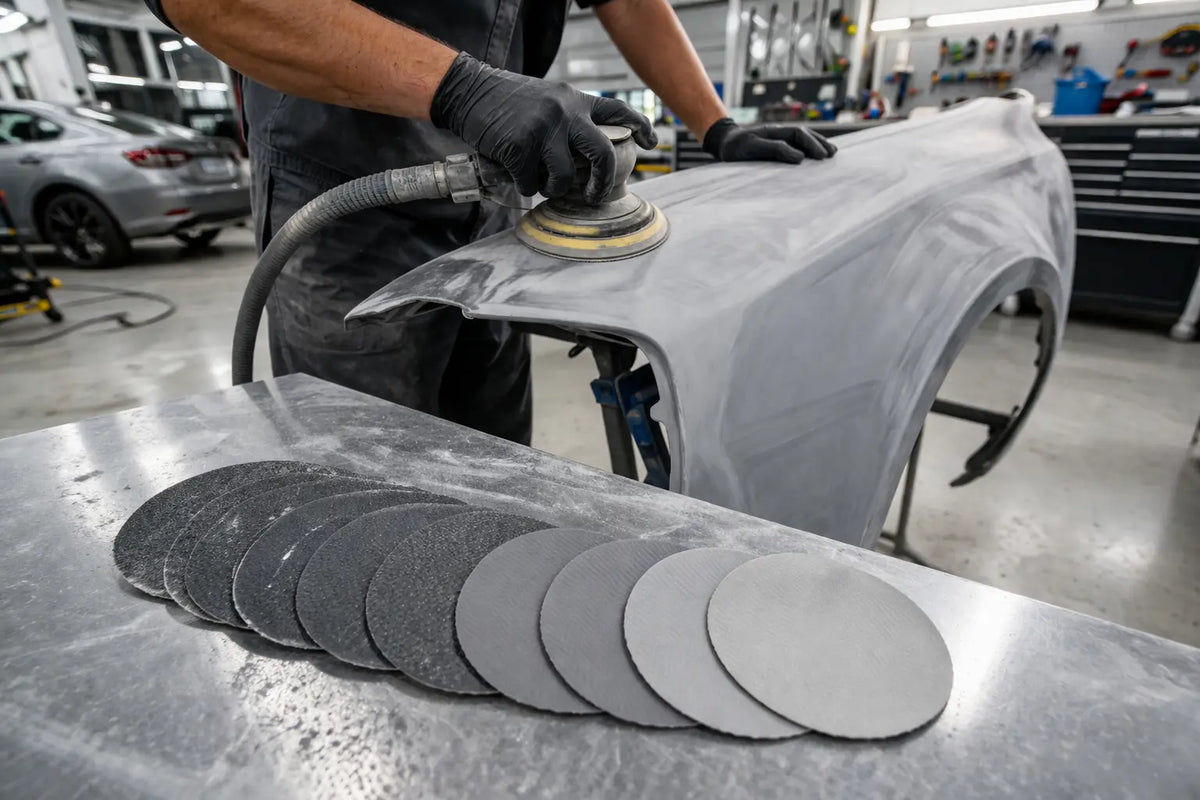
Ask any experienced tech what separates a good paint job from a callback, and the answer almost always comes back to prep. Sanding is where the job is won or lost, and choosing the wrong grit — or skipping one — shows up in the final finish every single time.
This guide walks through every grit range you'll use in a typical collision repair, from stripping old finish down to bare metal all the way through final buffing. We'll cover which products perform best at each stage and when to choose DA versus hand sanding.
Understanding Grit Numbers
The grit number refers to the number of abrasive particles per square inch. Lower numbers mean larger, more aggressive particles. Higher numbers mean finer particles and a smoother scratch pattern. The key rule: never skip more than one grit level between steps, or you'll spend twice the time chasing scratches from the previous stage.
Stage 1: Stripping and Heavy Material Removal (36–80 Grit)
This is where you remove old paint, heavy body filler, rust, and weld spatter. You're not trying to be gentle — you're trying to get down to a clean substrate fast.
- 36–40 grit: Aggressive stripping of old finish to bare metal, grinding down thick filler, or removing e-coat. Use on a DA with a rigid backup pad or a grinder. 3M Cubitron II 36+ discs cut significantly faster than conventional ceramic and last longer, reducing disc changes.
- 60 grit: Shaping body filler and smoothing down welds. This is your primary roughing grit after filler application.
- 80 grit: Refining filler shape and feathering paint edges. This is the coarsest scratch pattern most fillers and primers can cover.
At this stage, always use a DA sander — never hand sand large panels. Hand sanding at low grits creates uneven pressure and waves in the bodywork. The 3M Clean Sanding Disc with Hookit attachment makes disc changes fast and keeps you productive.
Stage 2: Filler Finishing and Primer Prep (100–180 Grit)
Once your filler is shaped and your edges are feathered, you need to refine the surface before primer.
- 100–120 grit: Final shaping of body filler. This removes the 80-grit scratches and gives you a surface ready for a skim coat or high-build primer. Sunmight Gold 120-grit discs on a 6-inch DA are a solid choice here — good cut rate with consistent finish.
- 150 grit: Feathering primer edges into bare metal or existing finish. Also used for final sanding of polyester glazing putty.
- 180 grit: The standard for scuffing old finish in the repair area before applying primer. This gives enough tooth for primer adhesion without leaving deep scratches that telegraph through.
Use guide coat at every step from here forward. A light dusting of contrasting color powder or aerosol over the surface shows you exactly where low spots, sand scratches, and imperfections are hiding. If you're not using guide coat, you're guessing.
Stage 3: Primer Sanding and Paint Prep (220–400 Grit)
This is where you transition from bodywork to paint-ready surfaces. The scratch pattern you leave here is what your base coat sits on.
- 220 grit: Initial sanding of high-build primer. Levels the surface and removes orange peel from the primer application. Use a DA with a soft interface pad to follow body contours.
- 320 grit: Standard prep grit for most base coat applications. This is the sweet spot — fine enough that scratches won't show through base coat, coarse enough that the paint bites well. Norton Pro Plus A975 320-grit discs deliver consistent results on primer.
- 400 grit: Final sand before base coat on solid colors, or when you need an extra-smooth foundation for metallics and pearls. Wet or dry — wet sanding at this stage helps on larger panels. Use 3M Wetordry sheets for hand block sanding curved surfaces.
Stage 4: Between-Coat and Blend Prep (500–800 Grit)
These grits are used for scuffing clear coat for blending, sanding between coats when needed, and prepping adjacent panels.
- 500 grit: Scuffing existing clear coat on blend panels. Provides mechanical adhesion for new clear without cutting through. Also used for sanding primer on show-car level work.
- 600 grit: Wet sanding runs or sags in base coat before clear application. Use with a rubber sanding block and plenty of water.
- 800 grit: Final scuff on clear coat blend panels. This is also where some techs start wet sanding clear coat defects before compounding.
Stage 5: Clear Coat Finishing and Defect Removal (1000–3000+ Grit)
After clear coat is fully cured (or force-dried per manufacturer specs), this is where you remove orange peel, nibs, and dust inclusions to achieve a factory-or-better finish.
- 1000 grit: Aggressive orange peel removal on clear coat. Use wet with a hard block. This cuts fast, so keep the block flat and check your progress often — you can burn through clear faster than you think.
- 1500 grit: Standard starting point for clear coat wet sanding when orange peel is moderate. 3M Wetordry 1500-grit sheets are an industry standard at this stage.
- 2000–2500 grit: Refining the scratch pattern before compounding. 3M Trizact P3000 finishing discs are the go-to here — the structured abrasive breaks down progressively, which means it starts cutting like a 1500 and finishes like a 3000. One disc, two steps.
- 3000+ grit: Final wet sanding before machine polishing. At this point, your scratch pattern is fine enough that a single compounding step can bring the surface to full gloss. Trizact P5000 discs take it even further for ultra-high-gloss finishes on dark colors where every imperfection shows.
DA vs. Hand Sanding: When to Use Each
DA sanders are faster, more consistent, and less fatiguing for flat and gently curved surfaces. Use them for panel-wide sanding at every grit level. Hand sanding is required for tight curves, edges, body lines, and anywhere you need precise control to avoid burning through. Always use a sanding block when hand sanding — never your bare hand. Your fingers create pressure points that cause uneven surfaces.
Wet vs. Dry Sanding
Dry sanding is standard through primer stages (up to 400 grit) because it's faster and works with DA sanders and dust extraction. Wet sanding is preferred at 600 grit and above, especially on clear coat, because water lubricates the surface, prevents clogging, and produces a finer scratch pattern. The exception: 3M Trizact discs can be used with a DA sander with water mist, combining DA speed with wet-sanding quality.
Products Mentioned
- 3M Cubitron II Discs
- 3M Clean Sanding Discs
- 3M Wetordry Sheets
- 3M Trizact Finishing Discs
- Sunmight Gold Sanding Discs
- Norton Pro Plus A975 Discs
Browse our full selection of sanding discs and abrasives at RDI.
Back to Pro Tips


