


You can have the best paint, the cleanest booth, and perfect bodywork — but if your gun isn't set up right, none of it matters. Gun setup is one of those skills that separates a painter who gets callbacks from one who doesn't.
This guide covers the fundamentals of spray gun setup for HVLP and RP guns, with specific settings that work as reliable starting points. Every paint system is slightly different, so always check your material's technical data sheet (TDS) for manufacturer-recommended pressures and tip sizes.
Understanding Your Spray Gun's Three Controls
Every professional spray gun has three adjustments. Master these and you control the entire application.
- Air pressure (at the cap): Controls atomization — how finely the paint is broken into droplets. Too low and you get poor atomization, orange peel, and solvent pop. Too high and you waste material to overspray, get dry spray, and increase the risk of runs on edges.
- Fan pattern: Controls the width of the spray pattern. Wide for panels, narrow for jambs and small areas. Always test the pattern on masking paper before spraying the job.
- Fluid delivery (material knob): Controls how much paint flows per trigger pull. More fluid means wetter coats. Less fluid means drier coats. Adjust based on how fast you're moving and how wet the coat needs to be.
Setting Air Pressure Correctly
The single most common mistake painters make is setting pressure at the wall regulator and assuming that's what they're getting at the gun. It's not. Pressure drops through every foot of hose, every fitting, and every connection. A 30-PSI reading at the wall might deliver only 22 PSI at the air cap.
Always set pressure at the gun, not at the wall. If your gun has a built-in digital gauge (like the SATA adam 2 dock), use it. If not, use an inline gauge that threads directly onto the gun's air inlet. Set pressure with the trigger pulled — static readings are useless because pressure drops the moment air starts flowing.
General starting points for HVLP guns at the cap, trigger pulled:
- Base coat (solvent): 13–15 PSI
- Base coat (waterborne): 10–12 PSI
- Clear coat: 14–17 PSI
- Primer/surfacer: 15–20 PSI
RP (reduced pressure) guns like the SATA jet X 5500 run slightly higher — typically 17–21 PSI at the cap for base coat. The higher pressure gives you better atomization and faster application speed, which is why many production shops prefer them.
Dialing In the Fan Pattern
Your fan pattern should match the area you're spraying. For a full panel — hood, fender, door — open the fan to its widest setting. You want a pattern that's roughly 10–12 inches tall at your spraying distance. For jambs, edges, and small repairs, narrow it down to 4–6 inches.
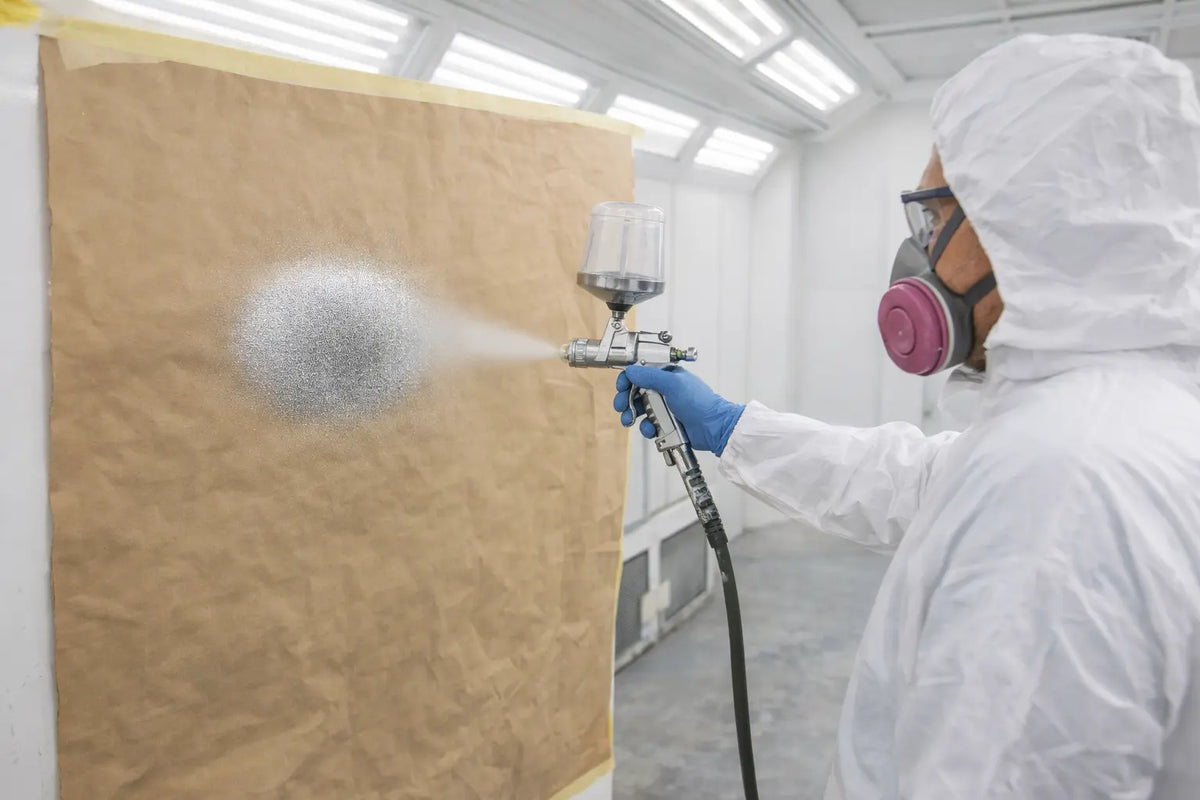
Test the pattern on masking paper. Spray a quick burst and look at the shape. You want an even, elongated oval with consistent coverage from top to bottom. If the pattern is heavy in the center (looks like a figure-8 or hourglass), you either have too little air pressure or too much fluid delivery. If the edges are heavy and the center is thin, pressure is too high for the fluid volume.
Fluid Delivery and Needle/Nozzle Selection
Your fluid delivery is determined by two things: the needle/nozzle size installed in the gun and the material knob adjustment. Needle and nozzle sizes are matched to material viscosity:
- 1.2 mm: Base coats and light-viscosity materials
- 1.3 mm: The all-around setup. Handles base coat and clear coat. Most painters keep a 1.3 on their primary gun.
- 1.4 mm: Clear coats and heavier materials
- 1.7–2.0 mm: High-build primers and surfacers. Use a dedicated primer gun — don't swap nozzles on your finish gun.
For the material knob, start with it backed out about 2.5 turns from fully closed. Spray a test pass and adjust from there. You want the coat to go on wet and glossy without running. If it's dry and rough, open the material knob or slow down your pass speed. If it's running, close the knob slightly or speed up.
Spray Distance and Technique
Hold the gun 6–8 inches from the surface. This distance works for most HVLP applications. Too close and you'll get runs and sags. Too far and material dries before it hits the panel, giving you texture and poor adhesion.
Keep the gun perpendicular to the surface at all times. Don't arc your wrist — that changes the distance across the pass and gives you uneven coverage. Move your entire arm in a straight line, parallel to the panel. Overlap each pass by 50–75%. Trigger on before you reach the panel edge, trigger off after you pass it. This prevents heavy spots at the start and end of each pass.
The 3M PPS System: Why It Matters
If you're still using traditional cups, the 3M PPS (Paint Preparation System) is a significant upgrade for consistency and efficiency. The system uses disposable liners that collapse as paint is consumed, allowing you to spray at any angle without losing feed — including completely inverted for rocker panels and underbody work.
PPS also eliminates cup cleaning between colors. Pop out the liner, drop in a new one, and you're ready for the next job. The graduated markings on the liners make mixing ratios accurate without a separate measuring cup. For shops running multiple jobs per day, the time savings add up fast.
Final Checks Before You Pull the Trigger
Before spraying the actual panel, always run through this checklist: verify air pressure at the cap with the trigger pulled, test your fan pattern on paper, check your material is mixed to the correct ratio and strained, and confirm your booth is up to temperature with proper airflow. These five minutes of prep prevent hours of rework.
Products Mentioned
Shop our full range of spray guns and 3M PPS systems at RDI.
Back to Pro Tips


