


Body filler selection isn't complicated, but it does matter. Using a heavyweight filler where you need a lightweight, or skipping fiberglass reinforcement on a flex-prone area, leads to failures that show up months after the customer drives away. Each filler type is engineered for specific applications, and matching the product to the job is basic professionalism.
Standard Body Filler (General Purpose)
Standard filler is your everyday workhorse for dent repairs, minor collision damage, and bodywork on steel panels. It's heavier than premium options but sands predictably and adheres well to properly prepped bare metal. For a shop doing bread-and-butter collision work, standard filler handles 60–70% of jobs.
3M Bondo Professional Gold Filler is a solid choice in this category — smooth application, consistent hardening, and good sandability. Steer away from the consumer-grade formulas you'd find at an auto parts store. Professional-grade fillers have finer talc, better resin systems, and produce fewer pinholes.
Apply standard filler in layers no thicker than 1/4 inch per application. If you need more than that, you're into structural territory and should consider a different approach — either more metalwork or a fiberglass-reinforced filler as a base layer.
Lightweight Body Filler (Premium Daily Driver)
Lightweight fillers use microsphere technology to reduce weight by 30–40% compared to standard fillers while improving sandability. They spread easier, feather better, and produce a finer surface that needs less finishing work. The trade-off: they're more expensive per gallon.
Evercoat Rage Gold is the industry benchmark here. It spreads like butter, sands with minimal loading, and resists pinholes better than most competitors. For shops that bill by the job rather than by the hour, the faster sanding time more than offsets the higher product cost. Evercoat Rage Ultra takes it a step further with even finer microspheres for a surface that's nearly ready for primer with minimal sanding.
Lightweight fillers are the right call for:
- Any repair where you want to minimize panel weight (hoods, trunk lids, doors)
- Repairs where sanding time is a factor — lightweight fillers cut 20–30% off your sand time
- Skim coats over properly shaped standard filler or fiberglass filler
- Large, shallow dent repairs where a thin, even application is critical
Fiberglass-Reinforced Filler (Structural Repairs)
Fiberglass filler contains chopped glass strands that add tensile strength to the repair. This is your go-to when the substrate needs reinforcement — not just filling. It's harder to sand than standard or lightweight fillers, so you'll typically use it as a base layer and skim over it with a finishing filler.
Common applications include:
- Bridging small rust-through areas (under 1 inch) after treating the surrounding metal
- Reinforcing repairs near panel edges and body line creases
- Building up areas where metal is thin from grinding or corrosion
- Repairs on fiberglass body panels (boats, older Corvettes, aftermarket parts)
Evercoat Fiberglass Filler and 3M Bondo Fiberglass Resin Filler are both reliable choices. Apply in thin layers and let each layer fully cure before adding the next. Fiberglass filler generates more heat during curing than standard filler, so don't apply thick — you'll get cracking.
Plastic Repair Filler (Bumper and Trim)
Standard body filler is designed for rigid substrates — steel and aluminum. Apply it to a flexible bumper cover and it cracks the first time the bumper flexes. Plastic repair fillers are formulated with flex agents that allow the cured filler to move with the substrate.
SEM Dual-Mix Plastic Repair Material and Evercoat Plastics-Only Filler are purpose-built for TPO, polypropylene, and polyurethane bumper covers. Use these for:
- Tab and mounting point rebuilds on bumper covers
- Gouge and scratch repair on flexible panels
- Cosmetic repair of textured plastic trim
Always flame-treat or use an adhesion promoter on raw plastic before applying filler. Plastic is a low-energy surface — filler won't stick without proper preparation. Clean with plastic cleaner (not standard wax and grease remover) and wipe dry before application.
Glazing Putty (Final Finishing)
Glazing putty is not a body filler — it's a finishing product applied in very thin layers (credit-card thickness) over cured filler to fill pinholes, minor sand scratches, and small imperfections before primer. If you're using glazing putty to fill actual dents, you're doing it wrong.
Apply with a tight, firm squeegee pass. Let it cure fully (it dries fast — usually 15–20 minutes), then sand with 180–220 grit. Evercoat Metal Glaze and 3M Acryl-Green Spot Putty are both excellent here. One thin pass should be enough — if you're applying multiple coats, go back and address the underlying filler work.
Application Best Practices
Regardless of which filler you're using, these fundamentals apply to every repair:
- Clean metal first. Wax and grease remover before and after sanding to bare metal. Contaminants under filler cause adhesion failure.
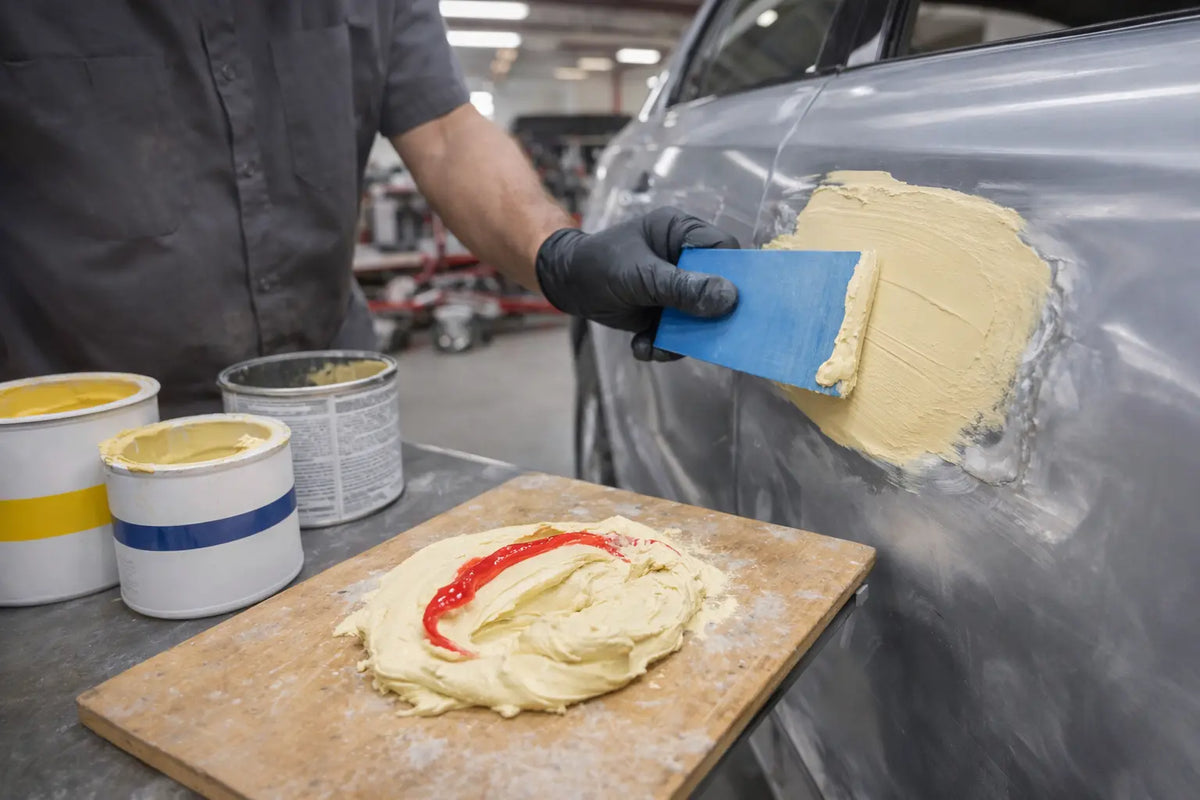
- Mix thoroughly. Cream hardener should be fully incorporated with no color streaks. Use 2% hardener by volume — a ribbon of hardener across the width of your filler puddle is roughly correct. Too much hardener causes brittleness and staining. Too little causes soft spots that won't sand.
- Spread, don't glob. Thin, even passes with firm squeegee pressure. Work from the center outward. Multiple thin coats beat one thick coat every time.
- Don't sand too early. Filler should be hard enough to produce white powder when sanded, not gummy shavings. If it gums up your disc, wait longer.
Products Mentioned
- Evercoat Rage Gold
- Evercoat Rage Ultra
- Evercoat Fiberglass Filler
- Evercoat Plastics-Only Filler
- 3M Bondo Professional Gold Filler
- SEM Dual-Mix Plastic Repair
Browse our full selection of body fillers and Evercoat products at RDI.
Back to Pro Tips


